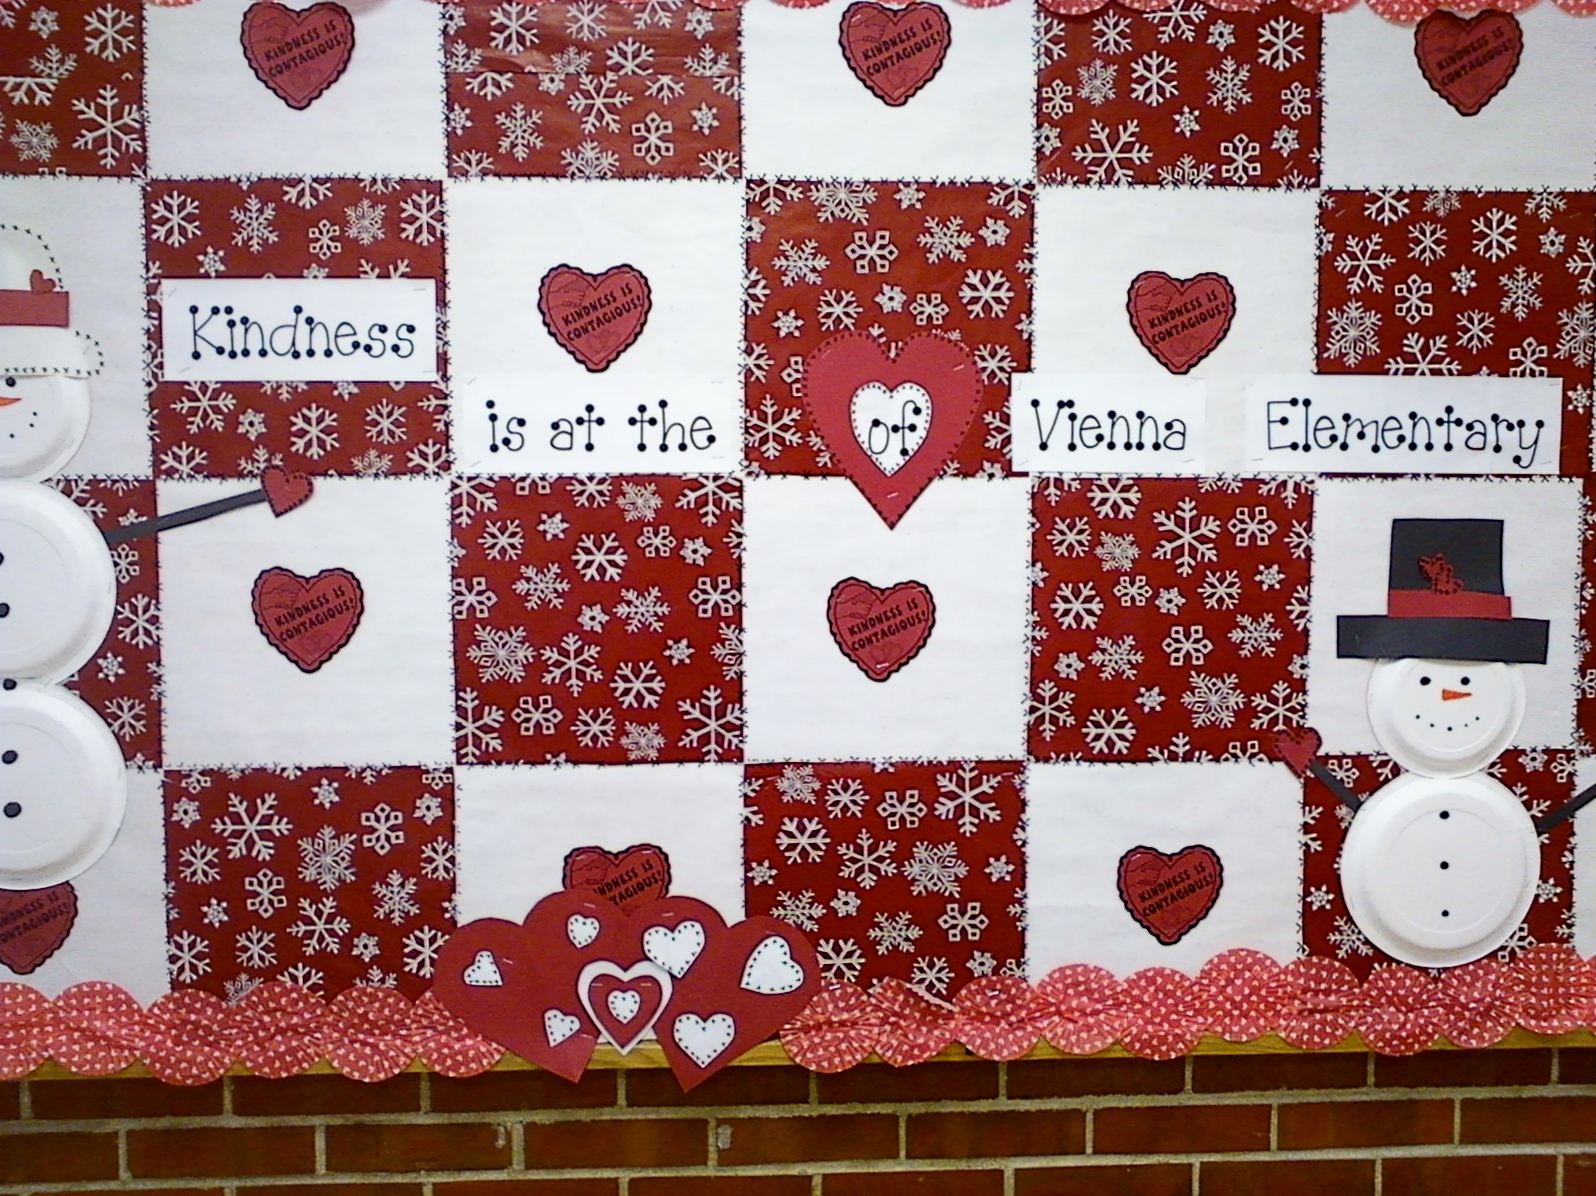
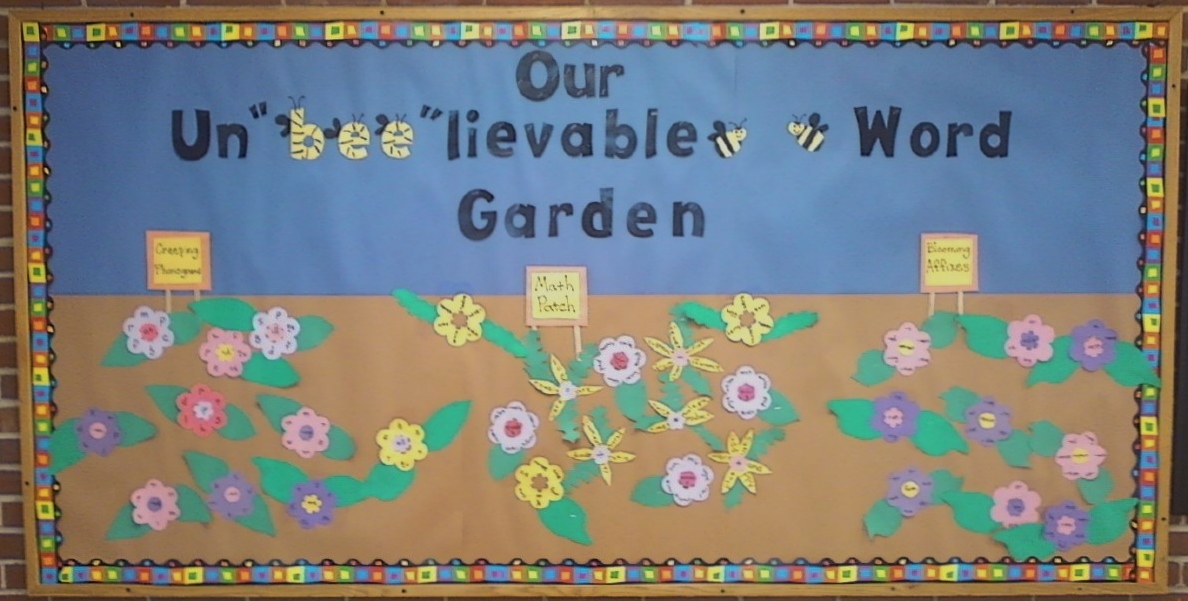
I browse my way through catalogs, magazines, EBay, Pinterest, and other websites on a daily basis. Flipping through pages of all sorts, scanning pictures, and reading combine in a curious way inside the storage files of my mind. My creative brain sifts through information from unrelated sources and combines these bits and pieces into a new idea. For example, making flowers from coffee filters and making a cupcake bouquet somehow gave birth to the idea of using flattened cupcake liners to edge a bulletin board. Before that, the picture of letter tile paper plates and wrapping Christmas presents inspired me to use wrapping paper for quilt block squares on a bulletin board. Below are pictures of the two bulletin boards that I assembled for a hallway bulletin board that is close to the elementary office. I hope that these two ideas will help and inspire you to new creative heights of your own.
December to January Snow Secret Bulletin Board
 |
| It's Snow Secret We're A Great School! |
Supplies
- two rolls of gift wrap from a dollar store
- 3 dinner size party plates
- 2 dessert size party plates
- 2 or 3 sheets of black and green construction paper
- orange marker for snowman nose
- black marker for snowman buttons, eyes, mouth, and "stitching" around squares
- scissors
- stapler
- scotch tape
- computer and printer
I typed the headline on my computer, printed it, and trimmed each page to the size I wanted. If your computer or printer has a banner setting that would make this job less time consuming.
The font is called LD SNOW
Font size needs to be set at a minimum of 200.
Verna M. Kelly Snowflake Quote
Snowflakes are on of nature's most fragile things, but just look what they do when they stick together
I wasn't happy with the size of the quote that you see in the picture, so I reset the font size on my document and redid it.
Snowmen were created by turning party plates upside down and drawing buttons, face, and nose with markers.
I didn't use a pattern for the scarfs, arms, or hats. The hats are cut from a 8.5x11.5 inch sheet of construction paper. I free handed the bowler and top hat with a pencil. The hatbands are held in place with rolled tubes of scotch tape. I fringed the ends of the scarf by snipping the end with scissors.
Assembly
- White paper covered the bulletin board. I cut snowflake gift wrap into fourteen, 12" "quilt"squares and the snowman gift wrap into 2" strips for the boarder. Using the printed grid on the reverse side of the gift wrap made this an easy job.
- Start at the bottom left of the board and place your first row across the bottom of the bulletin board.
- Use your bottom row for a guide to place the second and third row. I placed all the full squares first, then placed the squares that had to be trimmed to fit.
- I stapled the snowmen heads and bodies first, then slid the "twig" arms under the plate rims and stapled them into place. Hats and scarfs are also stapled into place.
- Staple headline and quote into place.
- Using a black marker, draw 'x' stitches around each quilt square. You don't have to, but it does make for a much nicer bulletin board.
- Last, staple border into place.
February to March Kindness Bulletin Board
Supplies
2 packages of 40 cupcake liners, red with white hearts
About 6 sheets of red construction paper.
2 sheets of white copy paper
Assembly
- Remove the snowman border from the bulletin board and throw away. Carefully remove the snowman hats and save for reuse.
I found a black line master of a heart that read, "Kindness in Contagious". I enlarged the pattern 120% so the hearts are about 3.5" and made fourteen hearts. Next I cut them out.
- Using the green bowler hat for a pattern, place it on a sheet of white paper and trace around it. Cut out the white hat. Make a red hat band with a narrow strip of red construction paper. Use tubes of rolled scotch tape to place it on the white hat. Use a black marker and draw small X's along the edge of the hat for contrast "stitches" Replace the green hatband on the black stove top hat with red paper also.
On a computer, set up a word document using landscape, narrow margins, my font is LD Dots 200 font or use a size that will fit the word kindness on a single sheet of paper. Type your headline, Kindness is at the heart of (Name of School). Then trim your sheets of paper into strips.
- Fold a sheet of red construction paper in half and cut a heart shape starting at the fold line. You will need three of these large hearts. Cut 5 or six small red hearts and six white hearts. Using bulletin board pictures as a guide, place your hearts as shown. Draw small black X's for stitching around the hearts that decorate the snowman hats and the heart each snowman is holding.
-
Staple hats onto snowmen. Staple a heart onto one hand of each snowman.
Use flattened cupcake liners for your border. I placed a heart arrangement in the center of the bottom border. If you don't want to do this, purchase 3 packages of cupcake liners.


 .
.