Sunday, March 30, 2014

Chocolate Easter Cross Cookies

For the Easter themed "Family Fun Night", at church, I baked 6 dozen chocolate cross cookies for the children to decorate after dinner.

At the beginning of the activity, the children were told :

  • The large pink flower stands for Jesus' love for us. 
  • The yellow flowers remind us what Jesus did for us. 
Toward the end of the activity, the children were asked if the remembered what the pink and yellow were for.


I learned a few things during this activity.
  1. Make thinner frosting so the smaller children can use less effort when decorating. 
  2. Use tips with larger openings so the smaller children can squeeze the frosting out of the pastry bags with less effort. 
  3. Close the pastry bags with twist ties because rubber bands break easily. Six out of six were broken within the first three minutes

Basic Butter Cream Frosting

Ingredients
  • 1/2 cup vegetable shortening
  • 1/2 cup of butter
  • 1/2 cup of margarine
  • 1 teaspoon of vanilla extract
  • 1/2 cup of water
  • 2 lbs. of confectioners sugar

Directions

  • Beat all ingredients until smooth.
  •  Divide into bowls and tint with desired colors. 

To decorate the cookies I used the following decorator tips:

No.16 open star tip
No. 27 closed star tip
No. 67 leaf tip
No. 195 large star or specialty tip. This tip is too large to use with a coupler.
No. 224 drop flower tip


Saturday, March 29, 2014

Update for the Five Star Pizza Crust Recipe


I have used the five star pizza crust recipe several times now.

Click Here for the pizza crust recipe.


  1. I have increased the amount of pasta sauce from 1/4 cup to 1/3 cup for each 12 inch pizza. 
  2. Optional: Cover the dough and let it rest for fifteen minutes before using it. This will give you a lighter, more tender pizza crust. 


Friday, March 28, 2014

Devil's Food Chocolate Chip Cake

Last night I wanted chocolate. Anything chocolate. A search of the pantry yielded half a bag of semisweet chocolate chips, a devil's food chocolate cake mix, and marshmallows. Devil's food chocolate chip cake and marshmallows sounded like the cure to my chocolate attack. As I retrieved eggs from the refrigerator, I saw the container of plain yogurt. I have seen recipes for sour cream chocolate cake, so I decided to use yogurt as an additional ingredient in my cake, too.

I have never added marshmallows to cake batter and was curious to see how baking would affect them.
Fresh from the oven. The marshmallows melted into the cake batter. 


Ingredients

1 box devil's food chocolate cake mix
1/3 cup plain yogurt
1/2 cup semi-sweet chocolate chips
1 cup marshmallows

Directions

Follow cake mix directions for making the cake batter. 
Add 1/3 cup of plain yogurt with the oil and eggs
Stir  in chocolate chips and marshmallows
Pour batter into a lightly greased 9 inch by 2 inch square cake pan
Bake according to the cake mix package
The cake will take about 30 to 35 minutes to bake.
Cool in pan

The chocolate chips were especially noticeable in the bottom inch of the cake and imparted a dark chocolate flavor to the the cake. The marshmallows melted without flavoring the cake. This is not a sweet chocolate cake and is a great partner for the frosting.


Thursday, March 27, 2014

Sallee's Six - Easter, Tailgating, and Gluten free Recipes

Desserts fascinate me!
Today, I want to share my top six Pinterest members with you! These ladies are authors with their own websites.

I love these ladies because they are as fascinated with desserts as I am. Plus, they have recipes galore for every other occasion you can think off. You are going to find tons of sweets (and other food) to whip up in your own kitchen.

Each link below will take you to the author's website. Happy viewing!

  1. Cookies and Cups by Shelly Jaronsky  Shelly has fun sweets, cookies, cakes, and more
  2. Mom on Time Out by Trish     Trish has an Easter section on her homepage.
  3. Avery Cooks   Avery Sunshine has a dessert paradise. Make sure to check out the recipe index.
  4. Cooking Classy by Jaclyn Bell  Jaclyn has her recipes in categories. Check out the holiday category for amazing Easter recipes.
  5. Plain Chicken  Your going to find tailgating recipes and dessert recipes. A ton of great recipes.
  6. Brandie the Country Cook Brandie has Easter recipes, crock pot recipes, and southern comfort food.

Wednesday, March 26, 2014

MYO Sausage Gravy

A pan of golden brown sausage gravy that you can
make yourself using pantry staples. 
Just saying the word sausage makes me hungry. I love smothering rice with sausage gravy or topping a baked potato with this meaty, mild gravy. The hubby prefers to eat  it gravy with  biscuits or dinner rolls. Great gravy is created from a roux. A roux is a mixture of oil and flour that you brown in a skillet. 

Browning your sizzling sausage in a skillet.

A golden brown roux is the key element
 to make tasty gravy that will have you wanting to lick the pan!


Recipe for Gravy

Yield: 2 cups of gravy

Ingredients

1/2 pound of mild pork sausage
canola oil 
all purpose flour
chicken broth  - I use Knorr instant chicken bouillon. 1 tsp. per cup of water
salt and pepper to taste

Directions

  • Cook your sausage over medium heat until it is browned well.
  • Place a colander over a bowl.
  • Empty the skillet of cooked sausage and rendered fat into the colander.
  • While the fat is draining from the sausage, wash the cooled skillet you cooked the sausage in.
  • Next, set the colander that contains the sausage onto a plate, or in the sink.
  • Pour the drained sausage fat from the bowl that was under the colander into a liquid measuring cup.
  • Add enough canola oil to the rendered sausage fat to measure 1/4 cup.
  • Pour the oil into the clean skillet over low heat.
  • Add 1/4 cup of all purpose flour to the oil in the skillet. Make sure you completely level the flour in the measuring cup before you add it to the oil.  This is important. 
  • Whisk the flour into the oil until it is well blended. This is your roux.
  • Turn up the heat to medium and whisk until the roux until it is golden brown and bubbly.
  • Carefully add 2 cups of chicken stock to the roux and whisk until it is well blended.
  • Whisk until the gravy is thickened, hot, and boiling.
  • Cook one minute and turn off the heat.
  • Taste your gravy and then add,as much or as little, salt and pepper as you choose. I rarely add more than 1/4 to 1/2 tsp. salt and 1/4 tsp. fresh ground black pepper.
  • Add the meat and stir until the meat is distributed well.
  • Time to eat your gravy!

To make 4 cups of gravy

Use 1 pound of sausage, 1/2 cup of flour, and 1/cup of chicken stock 
Follow the above directions.


Cooking Tips

1. Preheat the chicken broth in the microwave. Your gravy will come back to a boil much faster.
2. Use half butter and half oil for a richer gravy with a deeper brown color.
3. Always use a whisk for lump-free gravy.


Thursday, March 20, 2014

Corn Beef Hash - St. Pat's Day Bonus Recipe

Left Over Corn Beef and Potatoes from St. Patrick's Day Dinner
  • Melt 2 tablespoons of butter in a skillet and 2 tablespoons of canola oil
              in a nonstick skillet over low heat (3 on my gas stove)
  • Add diced, cooked potatoes and cook until they begin to brown.
  • Slice the corn beef cross wise (against the grain) and crumble on top of the potatoes.
  • Continue to fry until the potatoes are golden.

  • Crack 5-6 eggs into a bowl, add 1/4 - 1/3 cup milk and beat until well blended.
  • Pour the egg mixture over the potatoes and corned beef.
  • After the bottom has begun to set, gently lift the edge of the egg mixture and 
              let the liquid egg on top flow under the bottom .
  •  Do this two or three times around the edge of the skillet.
  • Cut  egg, potato, meat mixture into quarters with the spatula 
  •  Flip each quarter.
  •  Turn the heat off. 
  • Sprinkle a small handful of shredded Colby Jack cheese or cheddar on top
  • When cheese is melted, hash is done.
Yield: 2 hearty servings or 4 servings

Sunday, March 16, 2014

MYO Easter Bunny and Tulip Pancakes

Easter morning breakfast at the Bonham house is themed around the Easter Bunny. Making bunny shaped pancakes takes a little more time, but when you have a plateful they just look so darn cute. This year I added another twist to the breakfast because I also make tulip shaped pancakes using a metal Wilton cookie cutter. I wrote about this in a previous post, Cookie Cutters Aren't Just For Cookies, but now you will get to see how I did it.


Nice wide spatula and butter coated griddle

Equipment needed: 


  • griddle - a flat pan with no sides
  •  nice wide metal spatula
  • quart measuring cup or batter bowl
  • metal tulip cookie cutter or desired flower shape
  • cooking spray, butter, or margarine

Bunny Pancakes

  • First make up a batch of your favorite pancake batter and put it into a quart measuring cup or batter bowl.
  • Preheat  your griddle until a drop of water will skitter, or move quickly, across the hot surface. Spray your griddle with cooking spray or a tablespoon of oil, butter, or margarine. I use canola oil spray or butter. However butter and margarine will turn brown on the griddle.
  • Pour a small amount of batter out and pause for a second while it spreads into a circle. Then add two v or ear shapes to the pancake. Don't worry if the ears aren't perfect because you can trim them into a nicer shape after you flip them over with your spatula.
  • Wait until the pancake surface is nice and bubbly and the edges will look a little dry. Gently ease your nice wide spatula under the pancake, especially the ears and gently flip it over. If you aren't happy with the ear shape, trim them at this stage.
Ear shapes will not be perfect.
You can trim them after you flip the bunny cakes over.
Flipped and trimmed bunny cakes

Tulip Shaped Pancakes - A Pictorial Guide

Spray the metal cookie cutter generously with pan spray, especially the stem and points. Place cookie cutter onto your hot griddle.

 Fill the metal cookie cutter about one third to one half full. Do not completely fill it or the batter will not cook through. Let it cook until the surface is bubbly. Then slip a nice wide spatula under the cookie cutter and flip it over.
The bottom should look like this. Gently push the pancake down until it contacts the griddle and let it continue to cook. You may remove the cookie cutter when the pancake will hold its shape.
Your tulip will hold its shape and you can start your next tulip pancake. You can see the bubbles forming in the batter of the next tulip.


Saturday, March 15, 2014

A Five Star Pizza Crust Recipe

Today, I want to share an absolutely, amazingly easy, pizza crust recipe that will make an extra large, 16 inch thin crust pizza, or two, 12" pizzas. Take-out pizza will no longer be needed at the Bonham house because this recipe is better than any take-out pizza I have eaten. Why order take-out pizza when you can make something better? No more waiting for a delivery to arrive on Friday or Saturday night. Make a great home made pizza in 35 minutes.
Here's the recipe:


Thursday, March 13, 2014

Devil's Food Chocolate-Filled Cupcakes


A cupcake with a surprise chocolate filling inside will impress your friends and family. They won't know how easy it can be to create this tasty dessert. Making filled cupcakes is easy when you have an apple coring tool. A new use for your kitchen gadget.


First, you will need to have 24 cooled cupcakes made from 1 box of Ultra Moist Devil's Food Chocolate Cake Mix. Follow the package directions for baking cupcakes.

Then, you will make your chocolate filling.


Chocolate Filling Recipe


Ingredients


1/2 cup cocoa powder
1 1/8 cup sugar ( add sparingly, then taste test if you need more add more)
1/3 cup cornstarch
1 tsp salt
3 cups milk
3 Tbsp.butter
1 1/2 tsp vanilla extract
                    

 Directions


  • In a large ( 1/2 - 2 quart) microwaveable bowl, mix all the dry ingredients and whisk until well blended.
  • Pour 3 cups of milk into a one quart measuring cup and microwave for two minutes.

  • Gradually add the milk to the dry ingredients, whisk until the mixture is smooth.
  • Microwave the filling for 8 minutes and stir every two minutes.
  • The pudding should be hot and thickened, if not microwave an additional minute and thirty seconds.
  • Add butter and vanilla to the hot chocolate filling.
  • Using a whisk, stir until the butter and vanilla are stirred in completely.
  • Place plastic wrap over the top of the filling and cool until firm. I put my bowl in the refrigerator freezer for about 18 minutes.

  • Stir cooled filling with a wire whisk until smooth.
  • Put the filling in a pastry bag.
  • Using an apple coring tool like the one shone, or a sharp paring knife, cut a cone from the center of each cupcake. Gently press the apple coring tool into the cupcake center, using a twisting motion. Then remove the core of cake with the slide feature of the tool.

  • Cut the tip off of the pastry bag full of filling.
  • Fill the cupcake with filling and replace the cone top.

  • Frost with desired icing and pastry tip.

 I used tip #195 to create a swirled top, added sprinkles, and a hand made fondant flower. 

Tuesday, March 11, 2014

Sallee B's Pork Parmigiana


I love chicken parmigiana. However, chicken has been on the Bonham menu rather often. Tonight, I adapted my chicken parmigiana recipe for pork cutlets. End result - moist, tender Italian flavored pork. 

Recipe

Yield: 2 – 4 servings


 Ingredients


3-4 pork cutlets
¼ cup canola oil
1 cup flour
¼ tsp. garlic powder
1/8 tsp. fresh ground rainbow peppercorn mix
½ tsp. paprika
1 – 24 oz. can of Hunt's Pasta Sauce
Mozarella cheese
Parmigiana Romano cheese

 Directions

  • Preheat oven to 425 degrees Fahrenheit.
  • Pour ¼ cup canola oil in a shallow baking pan and coat bottom of pan evenly with the oil.
  • Combine flour and seasonings.
  • Dredge pork cutlets in flour. Press flour into meat.
  • Place cutlets in shallow baking pan.
  • Bake in oven for 15-20 minutes, or until the bottom is golden. Carefully turn cutlets over.
  • Bake another 10 minutes, or until the bottom is golden. Remove pan of cutlets from the oven.
  • Place a tablespoon or two of pasta sauce under each cutlet.
  • Pour pasta sauce on top of each cutlet, then sprinkle on desired amount of shredded mozzarella and parmesan romano cheese.
  • Place pan back into the oven for an additional 5 minutes to melt the mozzarella.
  • Remove from the oven and serve with your favorite side dishes. 


Pork Cutlet Parmigiana and Buttered Basil Corn

Pantry style corn  is a staple for many of my meals. Add 1/4 teaspoon of basil and you will have Buttered Basil Corn. 

Sunday, March 2, 2014

Raisin Spice Coffee Cake

Raisin Spice Coffee Cake with crumb topping.
A fall-flavored, quick cake that is  loaded with raisins
 and a rich buttery streusel.

Today,  I baked my first coffee cake. 

Why today? Well, I had two reasons. First, the hubby loves doughnuts with his morning coffee, but icy roads prevented a trip to the store for them this morning. Next, I saw a coffee cake recipe I wanted to try and share with you. The recipe appealed to me for the following reasons:
  • no exotic ingredients
  • all the ingredients are pantry basics
  • cinnamon, nutmeg, and allspice is a food pheromone for me. 
  • crumb topping rocks!
  • the recipe ingredients sound so much like a cake doughnut, that I seriously considered adding a glaze to the cake top. I resisted the urge, maybe next time. 

Hubby's Reaction

Bill loved it. He wanted to know I had been keeping this cake a secret. An A+ slice of homemade happiness on a plate!

My Flavor Rave

I thought that the coffee cake's texture was a cross between an applesauce or spice cake and a cake doughnut. Each bite contained an initial, crisp texture of buttery, brown sugar streusel, or crumb topping. Then, the rich, raisin spice and warm, cinnamon overtones took over and delighted my taste buds. My dark roast coffee was the perfect partner for the firm, spiced, not overly sweet coffee cake.  I was glad I didn't pour a glaze over it. 

The Recipe

Yield: 12-16 servings


Equipment

1 small to medium  bowl
1 medium to large bowl
2 cup liquid measuring cup
9 x 9 x 2 inch baking pan
wire whisk

Ingredients

1/3 cup packed brown sugar                                           1 cup white, granulated sugar
2 1/4 cups all purpose flour                                             3 teaspoons baking powder
1 teaspoon salt                                                                1 1/2 teaspoons cinnamon
1/4 teaspoon ground nutmeg                                            1/4 teaspoon ground allspice
1/3 cup canola oil                                                            3 Tbsp. butter
1 cup milk                                                                       1 egg
1/2 cup raisins                                                                  canola oil spray or pan coat of choice

Directions

  • Heat oven to 350 degrees Fahrenheit. Spray baking pan with canola oil spray and set aside.
Crumb Topping
  • In a small to medium bowl, place 1/3 cup of packed brown sugar, 1/4 cup flour, 1/2 tsp. cinnamon, and 3 Tbsp. of butter.
  • Mix all ingredients until the mixture is crumbly. This is your crumb topping. 
  • Set aside.
Coffee Cake
  • In medium to large bowl, place 2 cups of flour, 1 cup of sugar, 3 teaspoons of salt, 3 tsp. of baking powder, 1 tsp. of cinnamon, 1/4 tsp. of ground nutmeg, and 1/4 tsp. of ground allspice
  • Blend the dry ingredients with a wire whisk until spices are distributed evenly.
  • In a 2 cup liquid measuring cup, pour 1 cup of milk, 1/3 cup of oil, and add 1 egg. 
  • Beat with a wire whisk until the liquid mixture is well blended.
  • Pour the liquid mixture into the dry ingredients in the medium to large bowl.
  • Stir with the wire whisk until the batter is well blended. About 1 1/2 - 2 minutes.
  • Add 1/2 cup raisins and stir once or twice.
  • Pour half of the batter into the baking pan. 
  • Sprinkle half of the crumb topping  on top of the batter in the baking pan.
  • Pour the other half of the batter into the pan.
  • Sprinkle the remaining crumb topping across the top of the batter.
  • Place the pan in the oven and bake for 30 minutes. 
  • Insert a toothpick into the center of the cake and remove.
  • If just a few crumbs cling to the toothpick, or the toothpick is clean, remove the cake from the oven. 
  • Cool in the pan.
  • Serve warm or cool.
Crumb-topped perfection
 just out of the oven


Best Baking TOOLS & EQUIPMENT - A Video

My Cupcake Addiction has become my favorite source for cake decorating and baking tutorials. Learn more about creating some homemade happiness on a plate. SalleeB.

Saturday, March 1, 2014

Crispy Chocolate Mint Shamrock Treats

Creating a St. Patrick's Day Treat

Bill and I love chocolate and mint cookies. The two boxes of  GS Thin Mint Cookies were eaten forty-eight hours after arriving at our house. Craving more of that chocolate mint combo, I searched the cookie aisle at the store for more chocolate mint cookies. Then, wanting to create a St. Patrick's Day treat led me to whip up a test batch of crispy chocolate mint shamrock treats. The mint flavor was great, but the melted,white marshmallow mixture didn't look appealing with the chocolate cereal. Also, I piped mint frosting on the treats with a medium drop flower tip that successfully made the shamrocks look like broccoli. No, I am not showing you a picture!

Test Batch One results - Great flavor, but low eye appeal. Who wants to eat chocolate mint broccoli? 

After careful thought, I decided to add a tablespoon of chocolate chips to the marshmallow mixture. Who doesn't want more chocolate? AND the mint frosting will be piped on with a #5 outlining tip to highlight the shamrock shape. No more green stars or drop flowers. Unless they are tiny accents. 


Double Chocolate Mint Shamrock Treats Recipe

Yield: about 14 treats
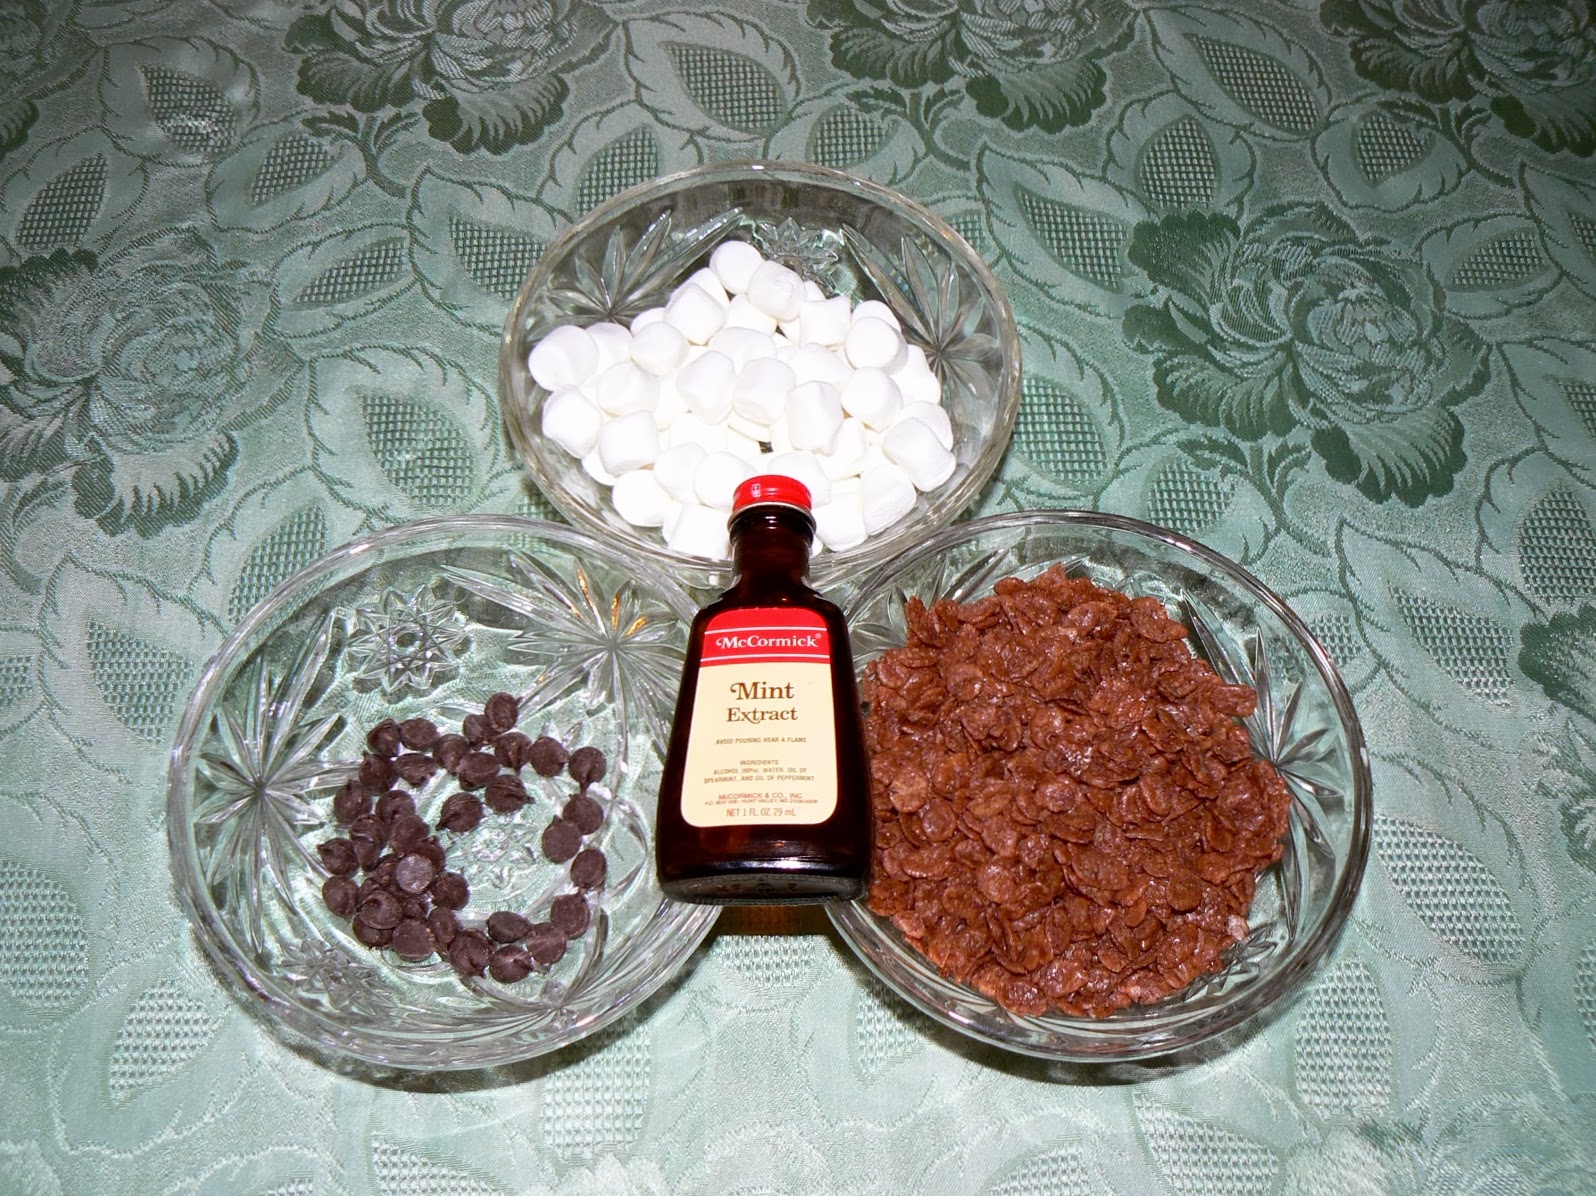
Ingredients


4 Tbsp. butter              1- 10 oz. bag miniature marshmallows             6 cups Cocoa Dyno-Bites cereal

1 Tbsp. semi-sweet chocolate chips                                                    1/2 teaspoon mint extract

shortening to lightly grease baking pan and hands

Directions


  • Grease an 11x13x9 inch baking pan lightly with shortening. Set aside.
  • Place butter in a  large, microwaveable bowl and microwave for 30 second. 
  • Stir once or twice.
  • Microwave for an additional 15 seconds, or until the butter is melted.
  • Remove bowl from the microwave. Add marshmallows to the bowl and stir until the marshmallows are coated with the butter.
  • Place the bowl of coated marshmallows in the microwave.
  • Microwave for 30 seconds. Stir mixture once or twice.
  • Repeat this step twice, or until the marshmallows are melted.
  • Add chocolate chips and stir until well blended. This may take a minute or two.
  • Add mint flavoring and stir until well blended. 
  • Add Cocoa Dyno-Bites and stir until the marshmallow mixture is blended evenly with the cereal
  • Place cereal marshmallow mixture into the lightly greased baking pan and press lightly with greased hands until the cereal is in a single, evenly packed layer. 

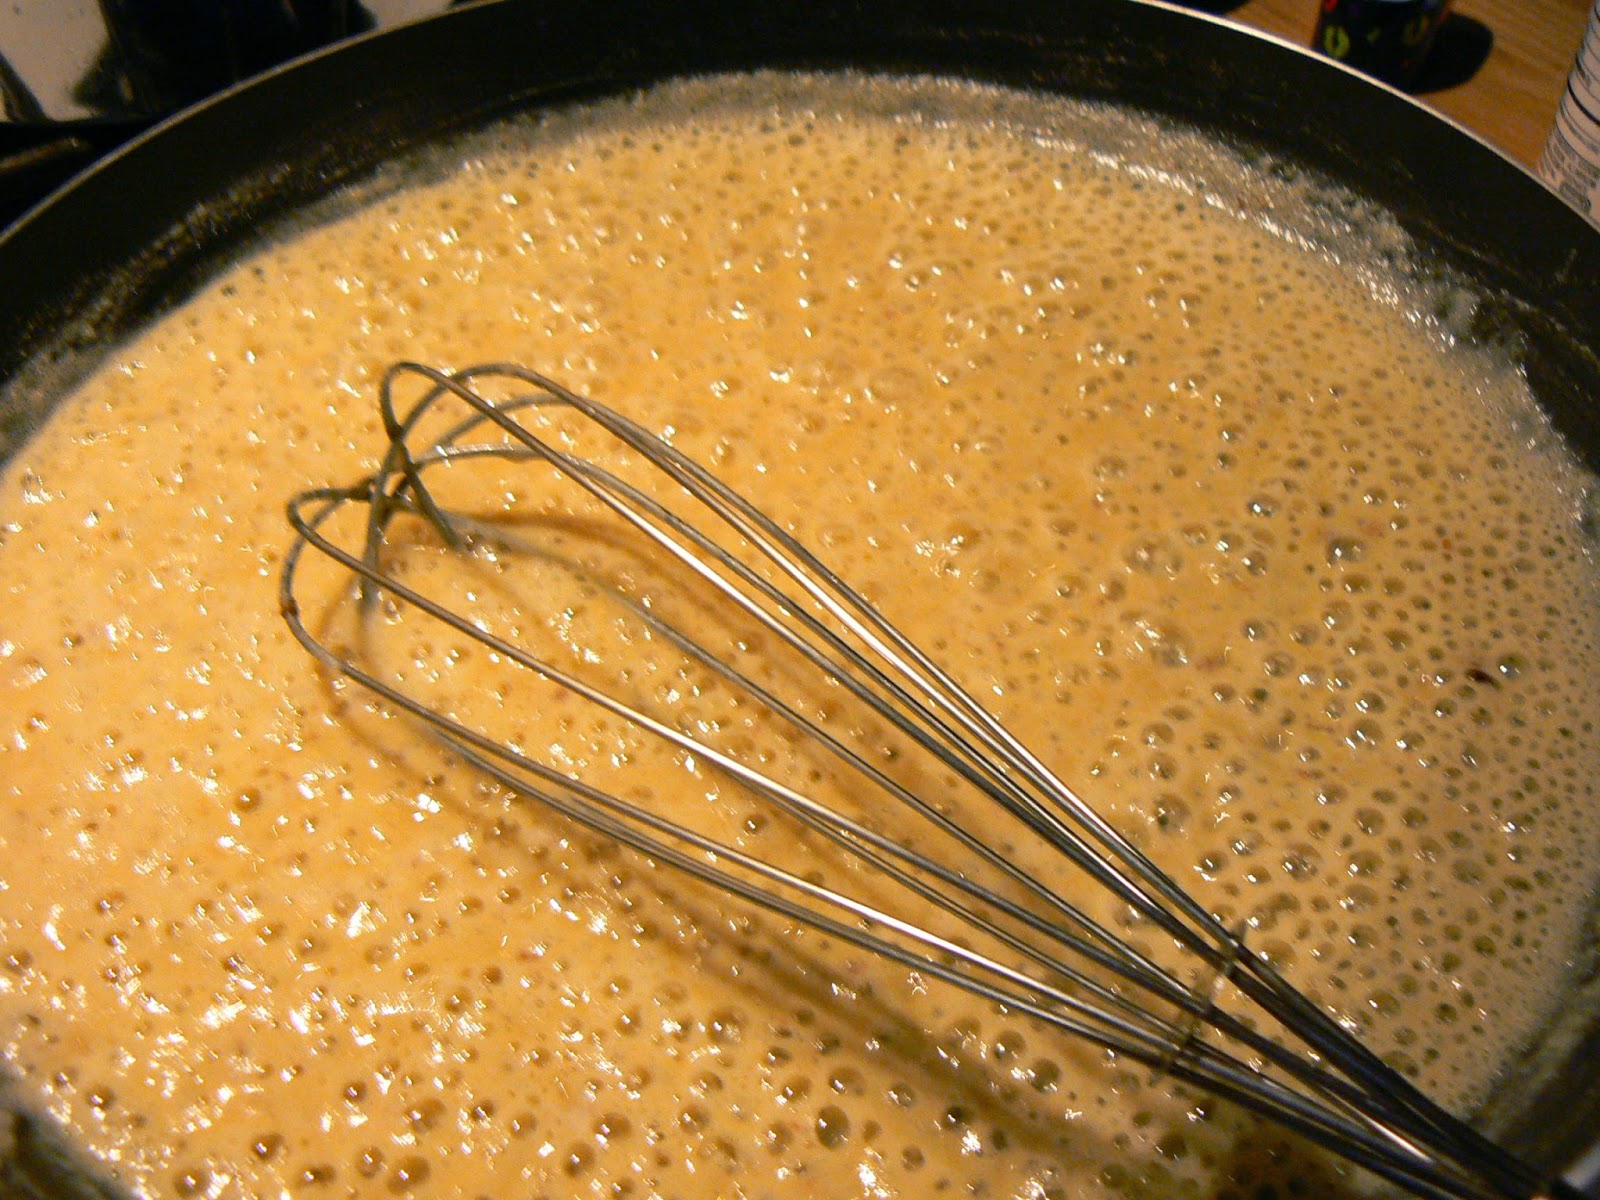
Stirring in the chocolate chips
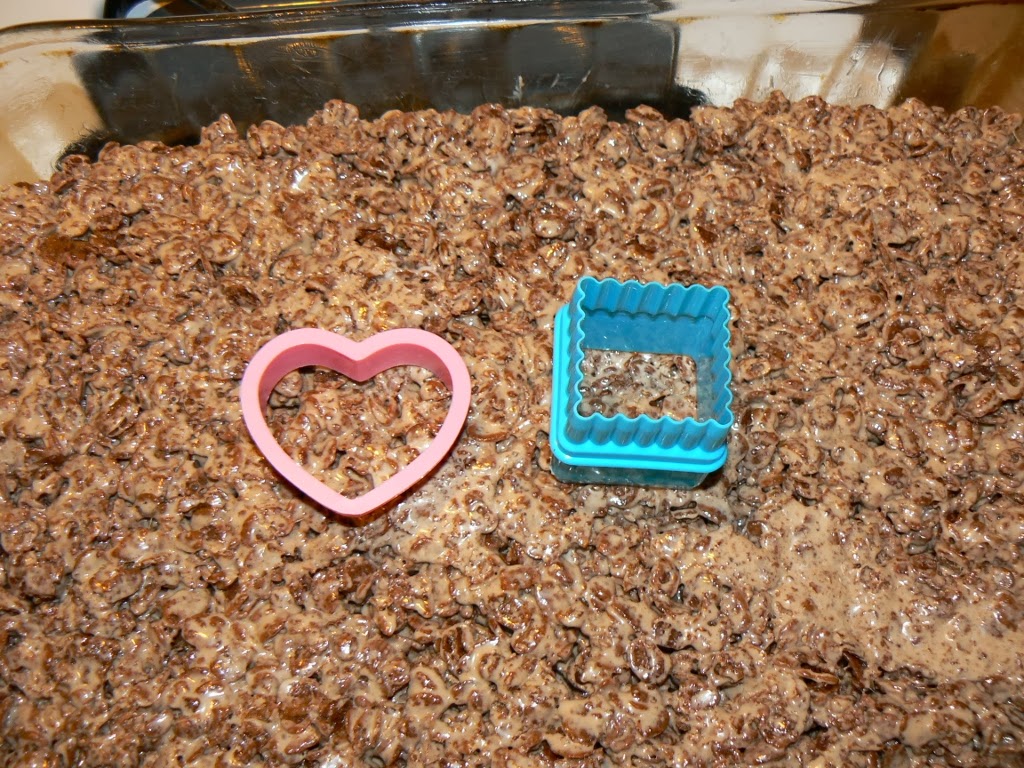
Treat mixture pressed into the baking pan.

Shaping the Shamrocks


Equipment

  • Two 1 3/4" cookie cutters - a heart and a square
  • baking sheet
  • waxed paper
  • shortening or pan coat

Directions


  1. Lightly grease cutters with shortening, or spray with pan coat. 
  2. Place waxed paper over a baking sheet
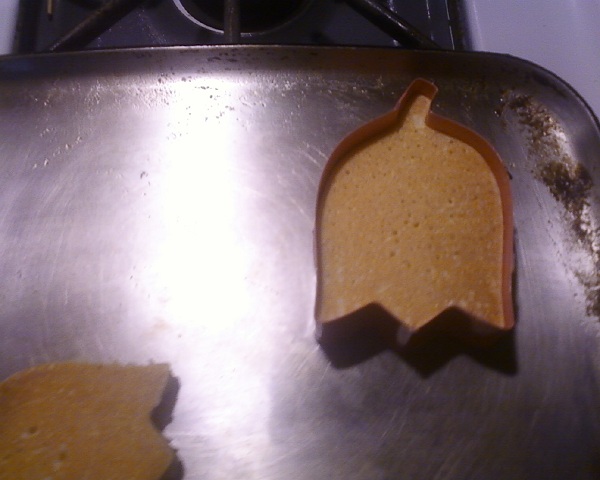
  3. Cut six hearts from packed cereal mixture and one square. 
  4. Cut the square in half for two stems.
  5. Place the two stems on the baking sheet and arrange tips of three hearts around each stem in shamrock shape. 
  6. Gently, push the hearts and stems together.
  7. Repeat steps three through six until you have used all of the cereal mixture.
  8. While the shamrocks are cooling and hardening, make your frosting
                 

Treats after pushing the pieces together.

Shamrock Frosting

Ingredients 


1 lb. powdered, or confectioners sugar (half of a 2 lb. bag), sifted
1/4 cup plus 1 tsp. water 
1/2 cup vegetable shortening, at room temperature
1/4 cup butter, at room temperature
1/2 teaspoon mint extract
green food coloring

Directions

  • Place shortening and butter in a bowl. Beat on low speed until will blended.
  • Add the mint flavoring, water, and a cup of sifted sugar to the bowl.
  • Beat on low speed until combined. 
  • Place rest of sugar in the bowl. Beat on low speed until combined.
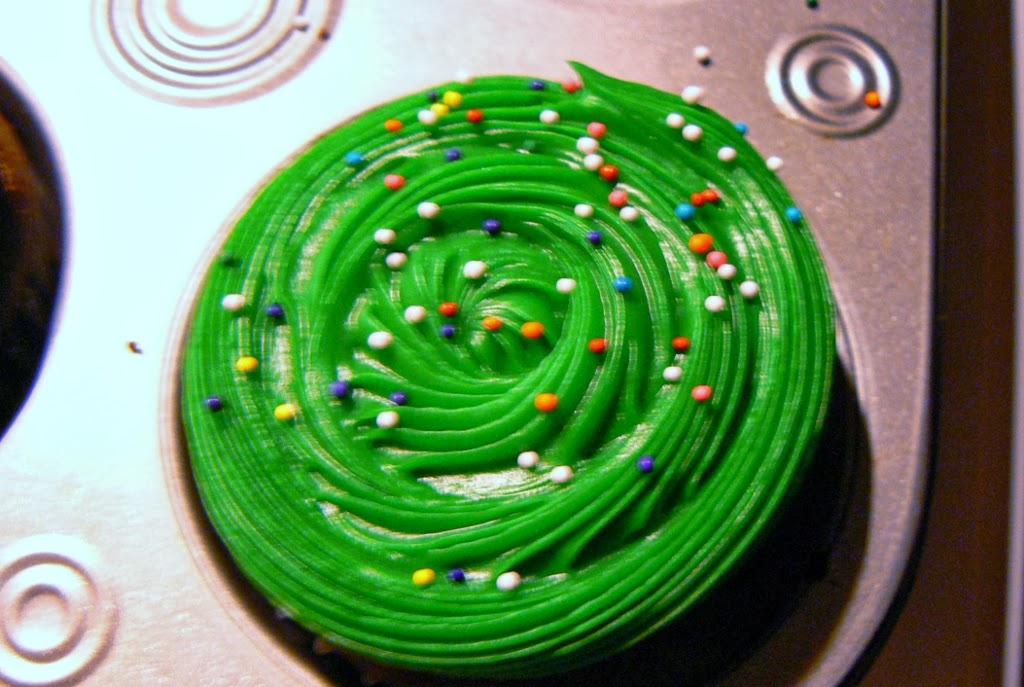
  • Add just enough food coloring to achieve a pale green color.
  • Place frosting in a pastry bag with a #5 piping tip. Outline each treat with the frosting. 


Your shamrocks are ready to be eaten immediately, or if you have enough will power, you can wait until the frosting hardens.Happy St.Patrick's Day chocoholics,  I hope you enjoy eating  your piece of homemade happiness on a plate!